Hey there,
Today’s post is a little different than normal, because today I’m sharing news that’s a little different than normal:
I put together a course with literally everything I know about photography and how I’ve used it for branding and today, it’s live on the internet.
It’s called the Photo Muse Masterclass and I’m so darn proud of it, because as I sit here at 2am the night before it launches (or the morning of, as it were), I am beaming because I know it’s good.
Like, really good.
Because I left nothing out. I included everything I learned as a photographer over the past seven years, how I utilized that knowledge to make this blog and my Instagram grow, and as a result, was able to turn it into a full-time, now six figure, living.
For a long time, I’ve wanted to be more helpful and to share what I’ve learned, specifically with my female audience, to help you build your own online businesses so that you can have ultimate freedom and become your own girl bosses. While I believe that travel is one of the most empowering and freeing things a woman can do, I also know firsthand that running a business is THE most empowering and freeing. It’s the best adventure I’ve ever embarked on.
So if I can help you do the same, I hope this post finds you today.
When I first started this blog I knew nothing about marketing or using photography to make my work stand out. I didn’t realize how valuable photography was to keep my memories beautifully immortalized, either.
I used to take photos like this:
View this post on Instagram
I didn’t know what else to do when it came to composing, framing, stylizing, and editing the shot.
Eventually I became my own photographer and muse (model) at the same time. It took me years and countless hours sorting through courses, books, and videos, finding the good stuff and discarding the rest.
You can learn more about it and enroll here.
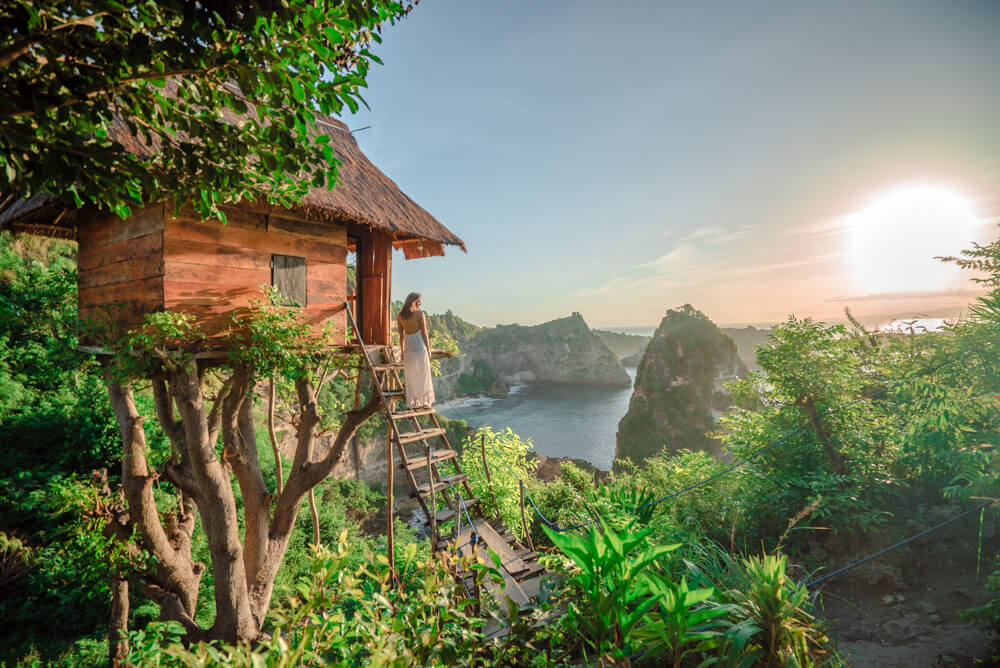
Now I’m able to create art that I’m proud of, and that helps me earn a living:
My other motivation for making this course is for you to feel that you deserve to be in your photos, that you are beautiful in your own way even when you don’t feel that way, and because when you travel the world, you worked damn hard to make it happen and you deserve some amazing photos to show for it!
The course is broken down into five modules with several lessons in each module. Each lesson has a video where I show you step by step, in an easy to follow and entertaining way, how to advance to the next level.
The modules include:
- Learning how to use your camera to the fullest (YES this course is still for you even if your camera isn’t fancy)
- Advanced shooting techniques
- Finding your unique style and becoming your own photographer
- Editing like a BOSS
- Going to market with your art and making money with it on your blog, Instagram, and beyond
Each lesson includes text to help drive the points in the video home, and five lessons include workbooks to help you put the concepts into practice.
The course also includes a Facebook group only for students where we talk strategy, seek and give feedback, and grow together.
For a limited time, the course also includes a 30-minute strategy call with me and a mega pack of editing presets (filters) that I created for just about every photography situation to make your editing a breeze while you learn and develop your own style.
This extra bonus expires on Sept 21 just before midnight, PDT. You can read more about the course and the included gratis bonuses, worth a total of $750, here.
I can’t wait to watch you grow and achieve amazing things with what you learn, and I can’t wait to be part of coaching you through the process of becoming not just a more skilled artist and photographer, but a general force to be reckoned with.
See you in the Photo Muse Masterclass!
Thanks for being here, and for your incredible support.
Hugs,
Kristin
Elizabeth Julien Coyne says
Wow, this course looks perfect! Just wondering, if I pay in the three monthly installments, will I still qualify to have the strategy call and get the extra presets?
Congratulations on putting together what looks like an amazing course!
Kristin says
Yes you will! It’s based on signing up for the course before Sept 21, not having to pay the balance in full 🙂
Jenny says
The course sounds amazing and that second selfie is enough to convince anyone I think!! So even with a mobile camera, you think it would be helpful? x
Kristin says
You mean a cell phone as your camera? The first module of the course is mostly about how to use a camera so that wouldn’t be relevant but the rest of the info would!
Fajne Podróże says
I love your photos 🙂
Kristin says
Thanks!