Do you wish...
That you could take dreamy, awe-inspiring photos?
That your photographs fully communicated the gorgeous things you see when you travel?
That you could use all of the features of your camera, utilizing your fullest potential?
All you need is a camera, some instruction, and your beautiful self to make this happen...
Here's how:
Taking amazing photos is not about the expensive gear, it's about the photographer. This is a skill that can be learned. Not only that, you can make it your own, tapping into your uniqueness and expressing yourself through photography.
This course isn't just about learning how to use a camera, it's about learning how to display your unique gifts, and to tell your story.
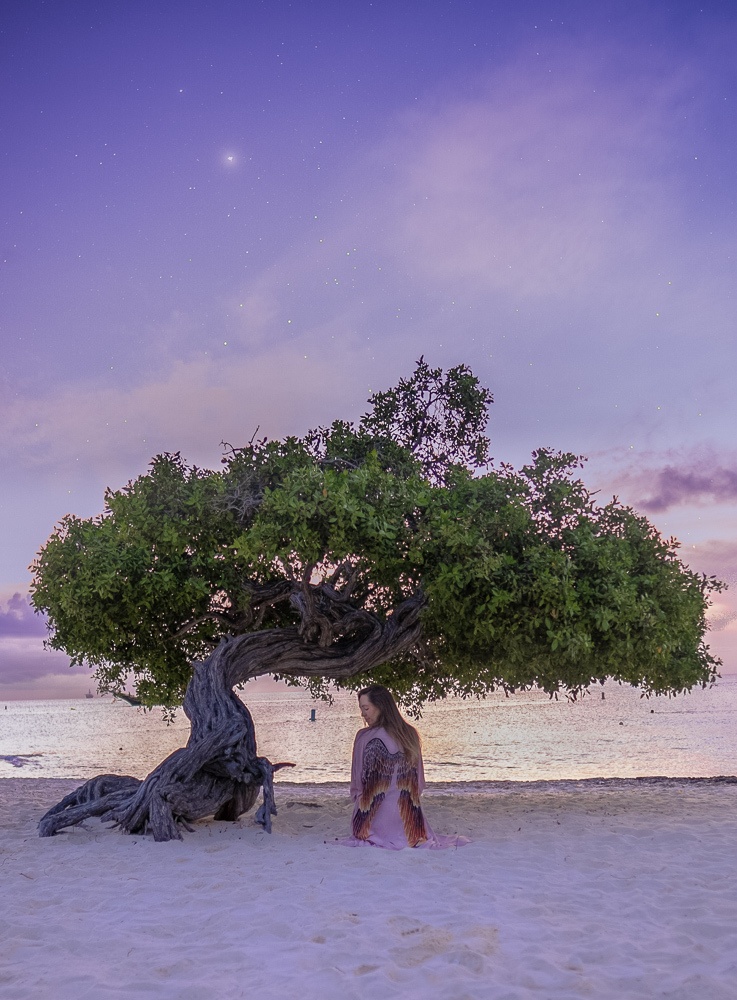
Whether you already know a bit about photography or are just beginning, this course can elevate you to the mastery level, shooting everything from yourself in beautiful surroundings to waterfalls, delicious food, bright sunny beaches, and the dazzling night sky.
Use your skills to create a collection of memories that you can show your friends and family - something that you can proudly look back on in 20 years. Or develop a successful Instagram, professionalize your website or blog, and beautify your brand.
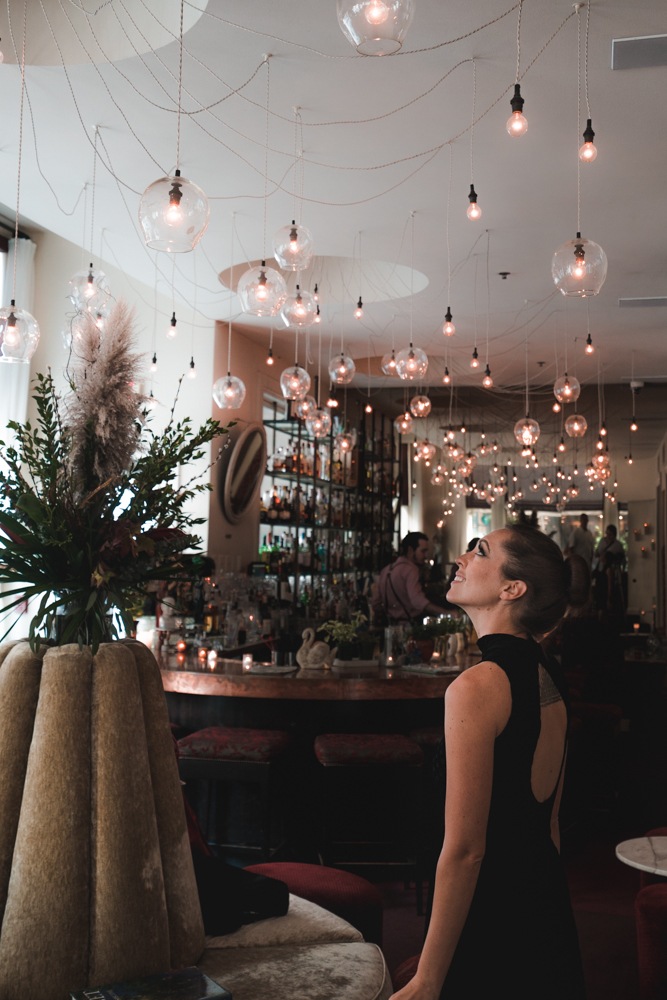
Learn how to compose your shots, plan, style yourself, and pose like the queen you are.
Because don't you deserve to come home with amazing photos of your travels?
Here's what you get
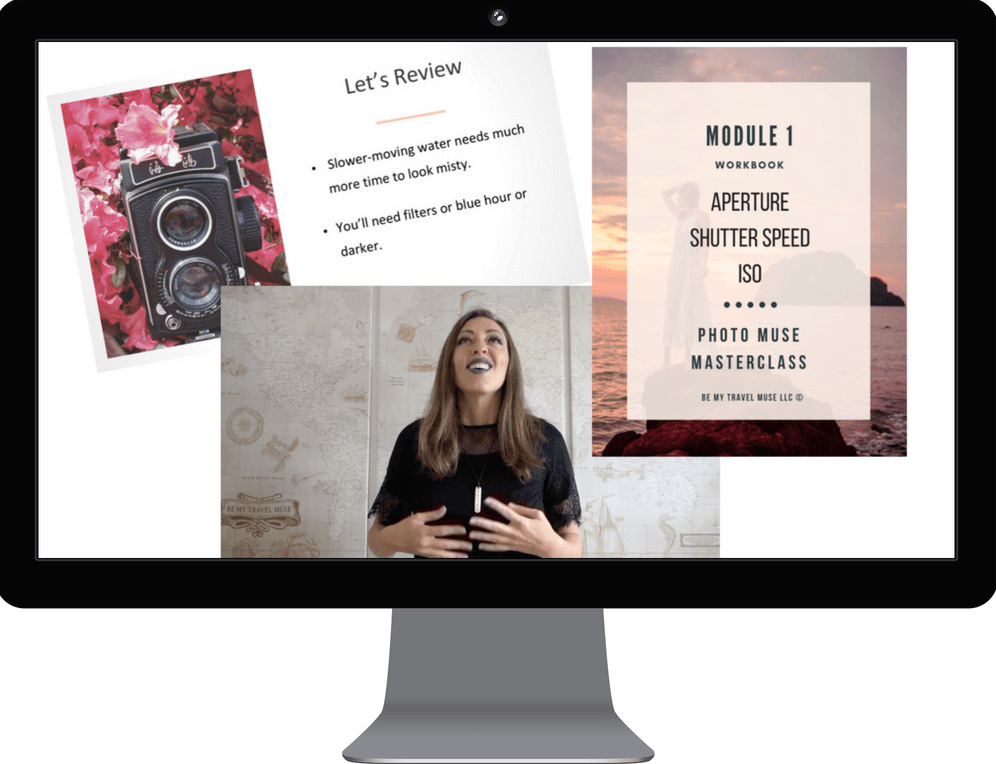
21 lessons with easy-to-follow video instructions accompanied by helpful text and five workbooks, so however you prefer to learn, you're covered!
Inclusion in our online community of fellow photographers where you can share your creations and grow together. Easily get feedback directly from your peers and me.
Additional modules dedicated to using photography as a form of self expression and personal empowerment. Wherever you are in your journey, let this course elevate you!
Let's do this together!
I'm Kristin, nice to meet you if we don't know each other already!
My journey to better photography began when I came back home from traveling the world for a year and realized all I had were oversaturated photos without me in any of them. I travel alone, so I rarely had anyone to take my photos. Worse, when I did ask someone, I'd get a crooked, terrible photo back!
I wanted better, so I poured myself into learning, taking courses, and perfecting the art of photography. I've used it to empower myself to be my own photographer, to build up an Instagram with over 117k followers, and to build my brand into a six-figure business.
I created this course because photography can be confusing, and most courses I found left out huge chunks of info, like taking one's own photo, learning how to use photography to communicate one's uniqueness, and especially editing and marketing! I wanted a course that covered EVERYTHING, and since it didn't exist yet, I decided to make the Photo Muse Masterclass!
The end result is something I know you'll love, created to take you to the next level quickly and with ease.

“
Kristin’s photography course is exactly what aspiring travel photographers need to take their craft to the next level. Not only does Kristin break down the specifics of how to take a great photo, from posing to editing, she also explains her branding, growth hacks, and marketing tactics. As anyone who has seen Kristin’s gorgeous Instagram account can attest, Kristin is truly an expert on this subject.
Ashley Fleckenstein - ashleyabroad.com
“
I am in LOVE with Kristin's Photo Muse Masterclass! I have spent a ton of time teaching myself photography and wish that I could time-travel back and take her course from the beginning! I learned soooo much! It is super simple, easy to follow (with step-by-step tutorials) and yet PACKED with invaluable information for anyone who wants to take beautiful photos (including solo travel selfies) AND be able to customize them to fit your brand. It is a game changer for sure, thank you so much Kristin!
Amy Moore - amyhatescarrots.com
“
If you really want to come home with your best travel photos possible, think about investing in an online photography course a few months before your trip. We love the Photo Muse Masterclass by Kristin Addis and think its one of the most complete and best online photography courses for travel out there.
Jennifer Dombrowski - luxeadventuretraveler.com
you're invited to join the
Photo muse masterclass
Over our 5-module course you'll learn how to become a photo pro with ease. You'll learn everything about how to use a camera to editing, marketing, and SLAYING. This course is designed to be FUN and to help you unlock your potential. I'll be there with you every step of the way for each question that you may have.
The step-by-step system:
Plus a bunch of bonuses!
This course comes with lifetime access to everything mentioned above, plus:
- A complete set of Lightroom presets in several different styles for your use while you're learning. Do you like the edgy, hipster look? Do you prefer bright colors? Want to make that sunset POP? Do it in one click ($150 value!)
- Access to a members-only Facebook group where we'll talk strategy, grow together, provide feedback for each other, and where I'll always be available for questions and feedback about your photography and brand direction ($200 value!)
- PLUS access to the Photo Muse Masterclass.
"
I thought I wanted to take a photography course, which is sort of true, but with all of the intricate calculations and theory, I’ve never had time to get very far. What I love about Kristin’s Photo Muse Masterclass is that it is incredibly practical. Most of her videos are 15 minutes or less, but completely jam-packed with useful techniques and tips to try. Seriously, I had to pause each video after just a couple minutes to play around with what I had learned in that short time. Which meant that I was immediately learning — in concise, straightforward terms— exactly what I needed to know to take really artistic photos. AND I could do it from the road!
I love too that she covers topics that most might not consider in a “photography” course, but that are challenging for solo artists — i.e. that oh-so-painful business of learning how to pose well, or how to get others to take good photos of you when you’re traveling solo.
Finally, I was amazed how prompt Kristin was in responding to all of my questions, which really shows she cares. In our private Facebook group, she shared awesome ideas for how to apply the lessons and gave us challenges and workbooks to actively encourage us to stretch our photography limits. For anyone trying to improve their skillset fast, I highly recommend this course!
Jennifer Garnett - world traveler
You got questions? I got answers!
Q: I already know a little bit about photography, is this still a fit for me?
A: YES whether you're already a bit experienced or just starting out, this course can benefit you. We're discussing strategy, advanced shooting and editing techniques, and if you're into it, branding. There's always more room to learn! Plus, the benefit of community is essential to growth - I've learned this firsthand!
Q: I don't have a fancy camera and a bunch of lenses, will this course work for me?
A: As long as you have a camera with the ability to go into manual (most point-and-shoots can these days!), you'll still be able to get everything out of this course that those with more advanced/expensive cameras can. In fact, this will help you get the full value out of whatever camera you have, getting out of auto and mastering its settings with ease. Yes, this course is for you!
Q: I'm so busy as it is, how much time will this take?
A: Girl, me too, and I totally get you. This course will take as much time as you want to put into it. The worksheets, depending on how dedicated you are and how much you want to go the distance, can be involved or just taken as guidelines. This is the lovely thing about a course where there are no As or Bs and no homework - you go at your own pace and make your own choices! That said, if you're super into it, you can become a pro within a few weeks using this course.
Q: How long will I have to access the course?
A: Forever. With your purchase you get lifetime access to this course. You'll also get the knowledge of how to take amazing photographs for a lifetime, a skill that will keep on serving you!
Q: Will I get value out of this course?
A: The short answer is: Yes, many times over. These days, we are sold the idea that a fancier camera will yield better photos and memories, but when we get it, we're still shooting on auto. Sound familiar? Before you upgrade, see if you can use what you have to take the photos you want. This course will teach you the skills. That said, you have to put in the work to see results.
Q: What if I want a refund?
A: I'd never want you to be unhappy! If you decide within 14 days that this course isn't for you, and you can show me that you have completed at least the first 3 worksheets and are still finding it's not improving your photography, I'll refund 100% of your purchase.
Single Payment
Simple, fast and slightly cheaper
$
$297.00
3 monthly payments
Break it down for easier affordabiity
$
105.00
/mo
See you in the Photo Muse Masterclass!
